
Important: Check out the v1.2.0 release notes
Organize your GitHub Stars with AI-powered tagging
Transform your scattered GitHub stars into an organized, searchable knowledge base using the power of Google Gemini AI.
Features • Quick Start • Installation • Docker • Contributing
- Automatic Tag Generation: Uses Google Gemini AI to analyze repository metadata and generate relevant, technical tags
- Background Processing: Tag generation runs in the background with real-time progress tracking
- Rate Limit Handling: Automatically detects and handles API rate limits with pause/resume functionality
- Progress Persistence: Resume tagging from where you left off after any interruption
- Custom Lists: Create and manage custom lists to categorize repositories
- Advanced Filtering: Filter by language, repository type, tags, and more
- Smart Search: Search across repository names, descriptions, and tags
- Bulk Operations: Move repositories between lists and manage tags efficiently
- Force Sync: Automatic sync when selecting "Recently Active" filter for up-to-date data
- GitHub OAuth: Secure authentication using your GitHub account
- Local Data Storage: All your data stays on your machine
- API Key Security: Environment-based configuration for API keys
- Dark/Light Theme: Beautiful themes that adapt to your preference
- Responsive Design: Works perfectly on desktop and mobile
- Material-UI Components: Clean, modern interface built with Material-UI
- Real-time Updates: Live progress tracking and instant feedback
- Version Management: Built-in version display with update notifications
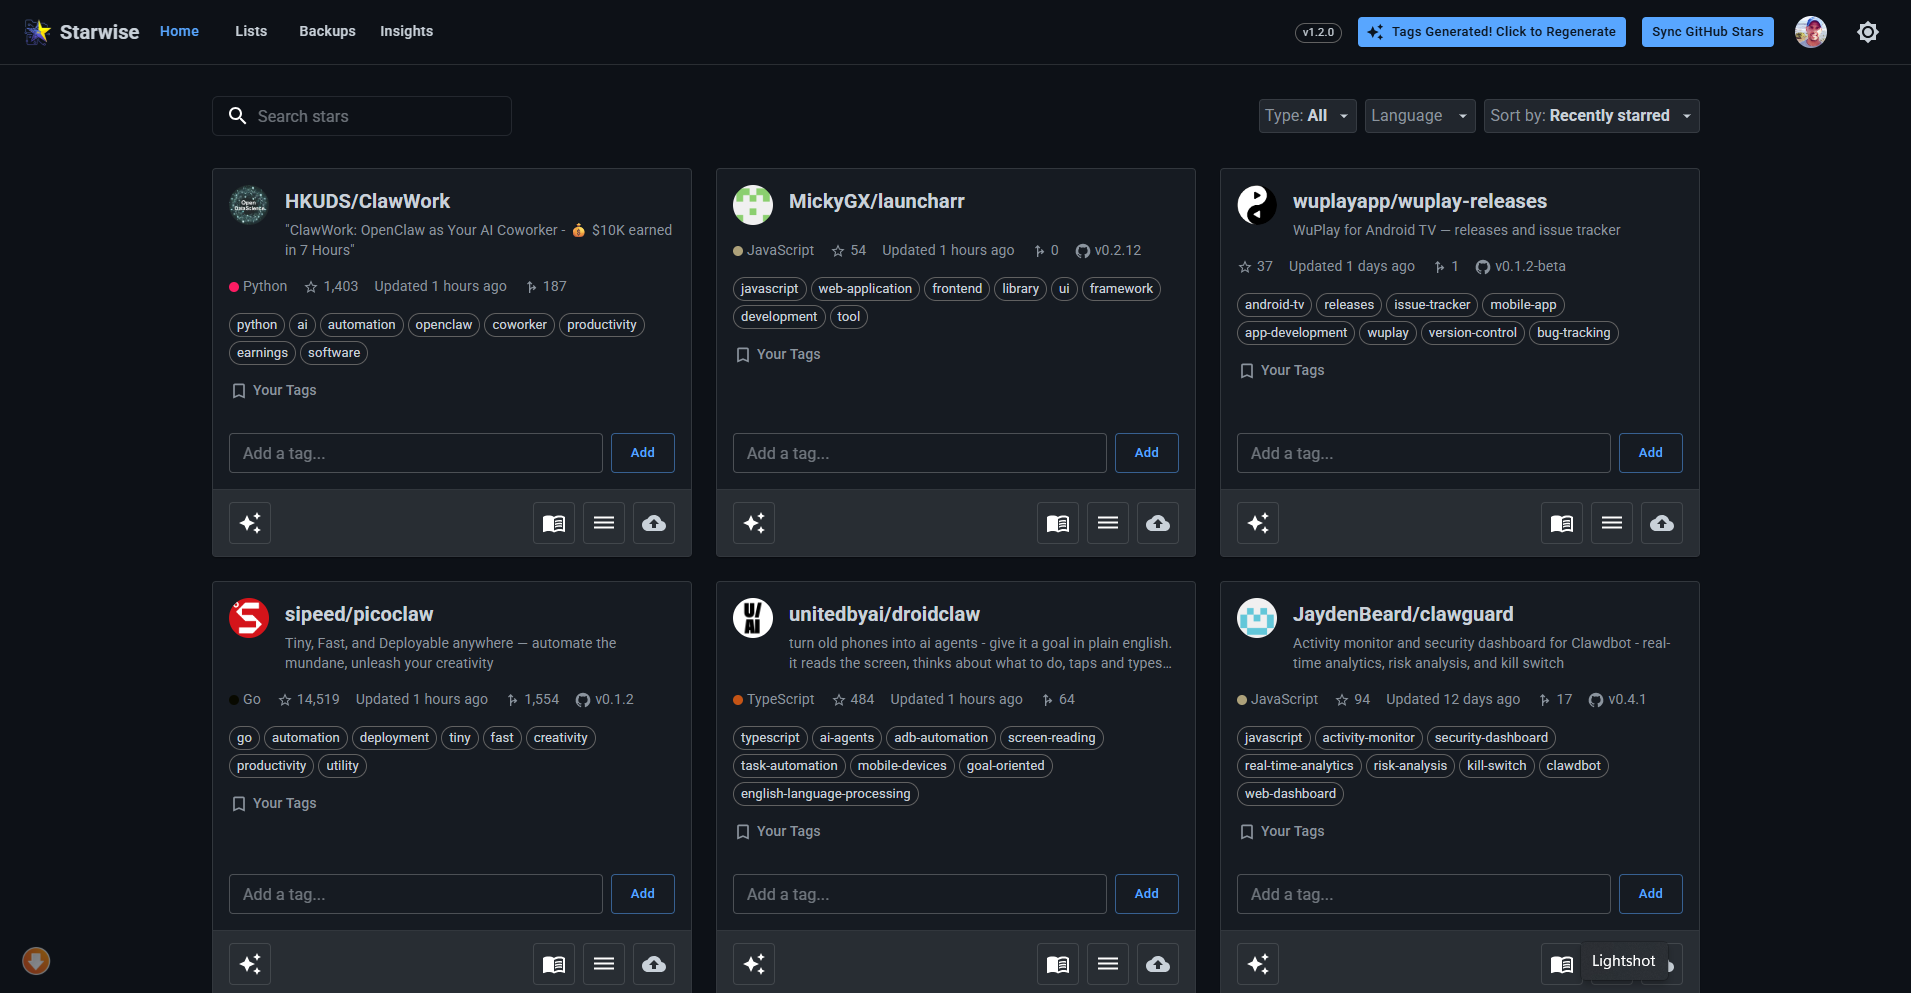
home 1
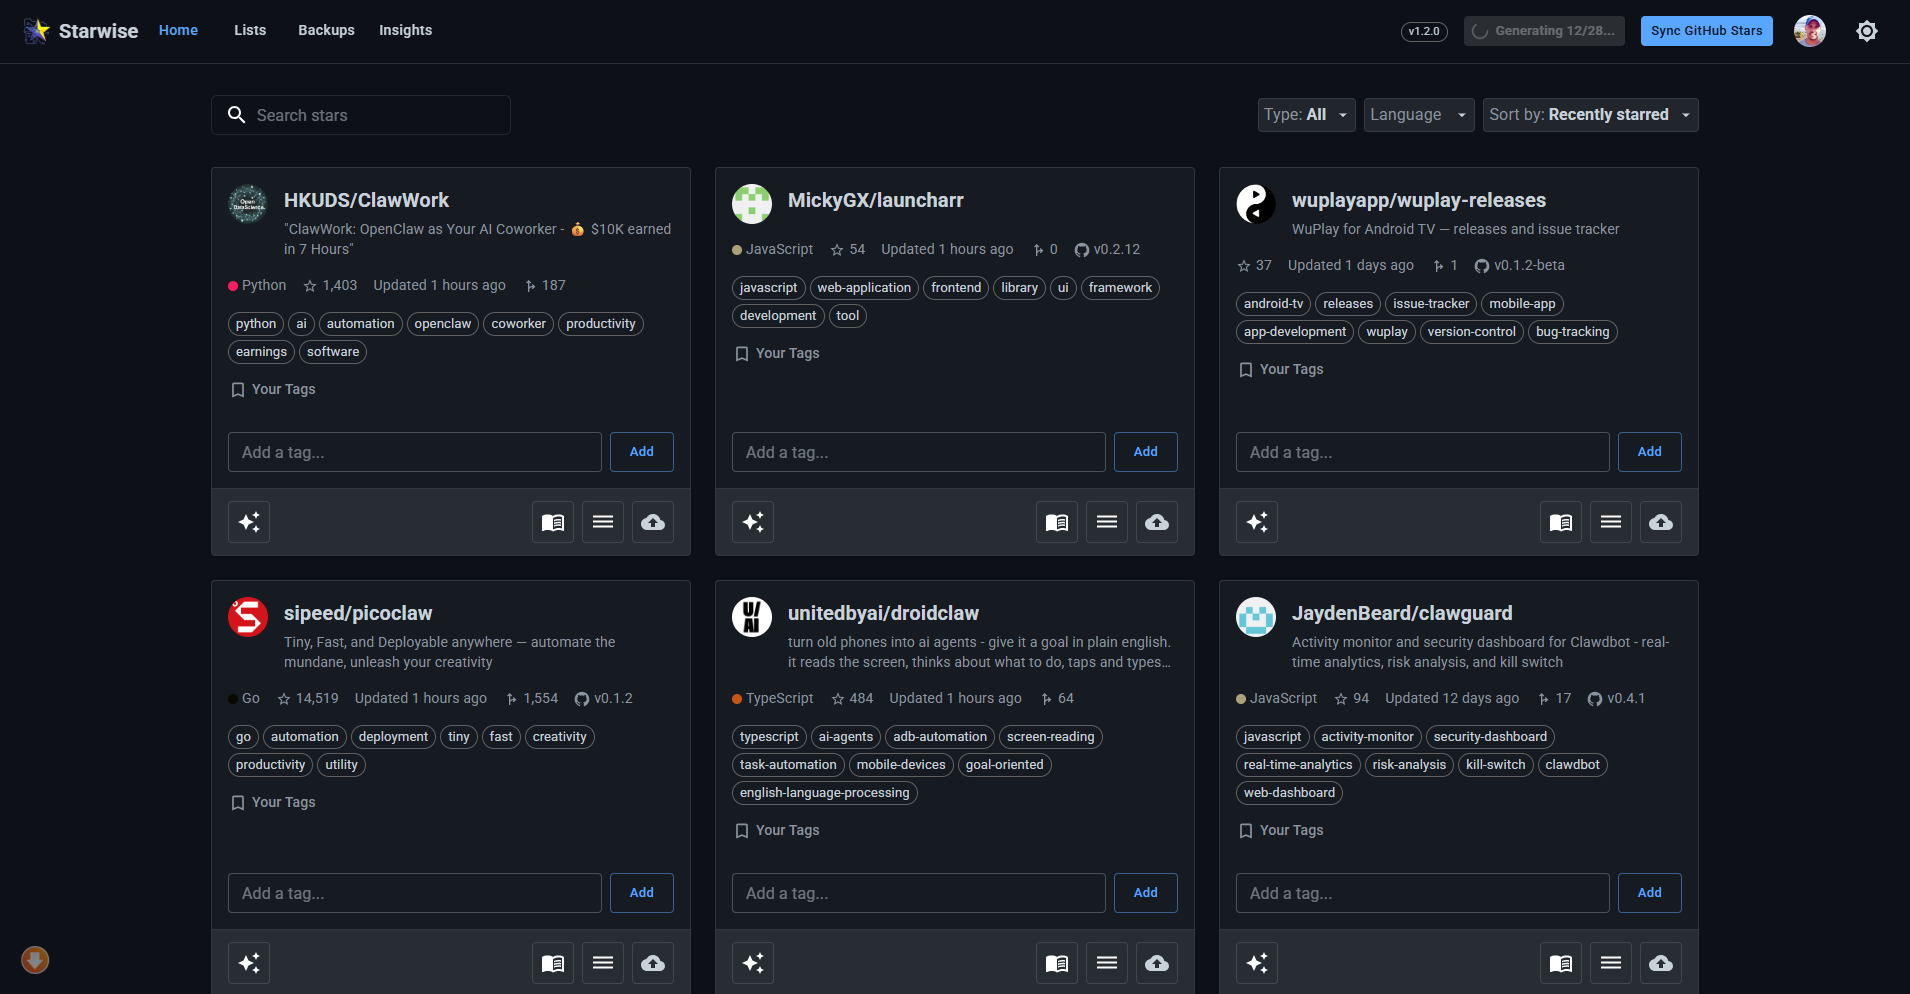
home 2
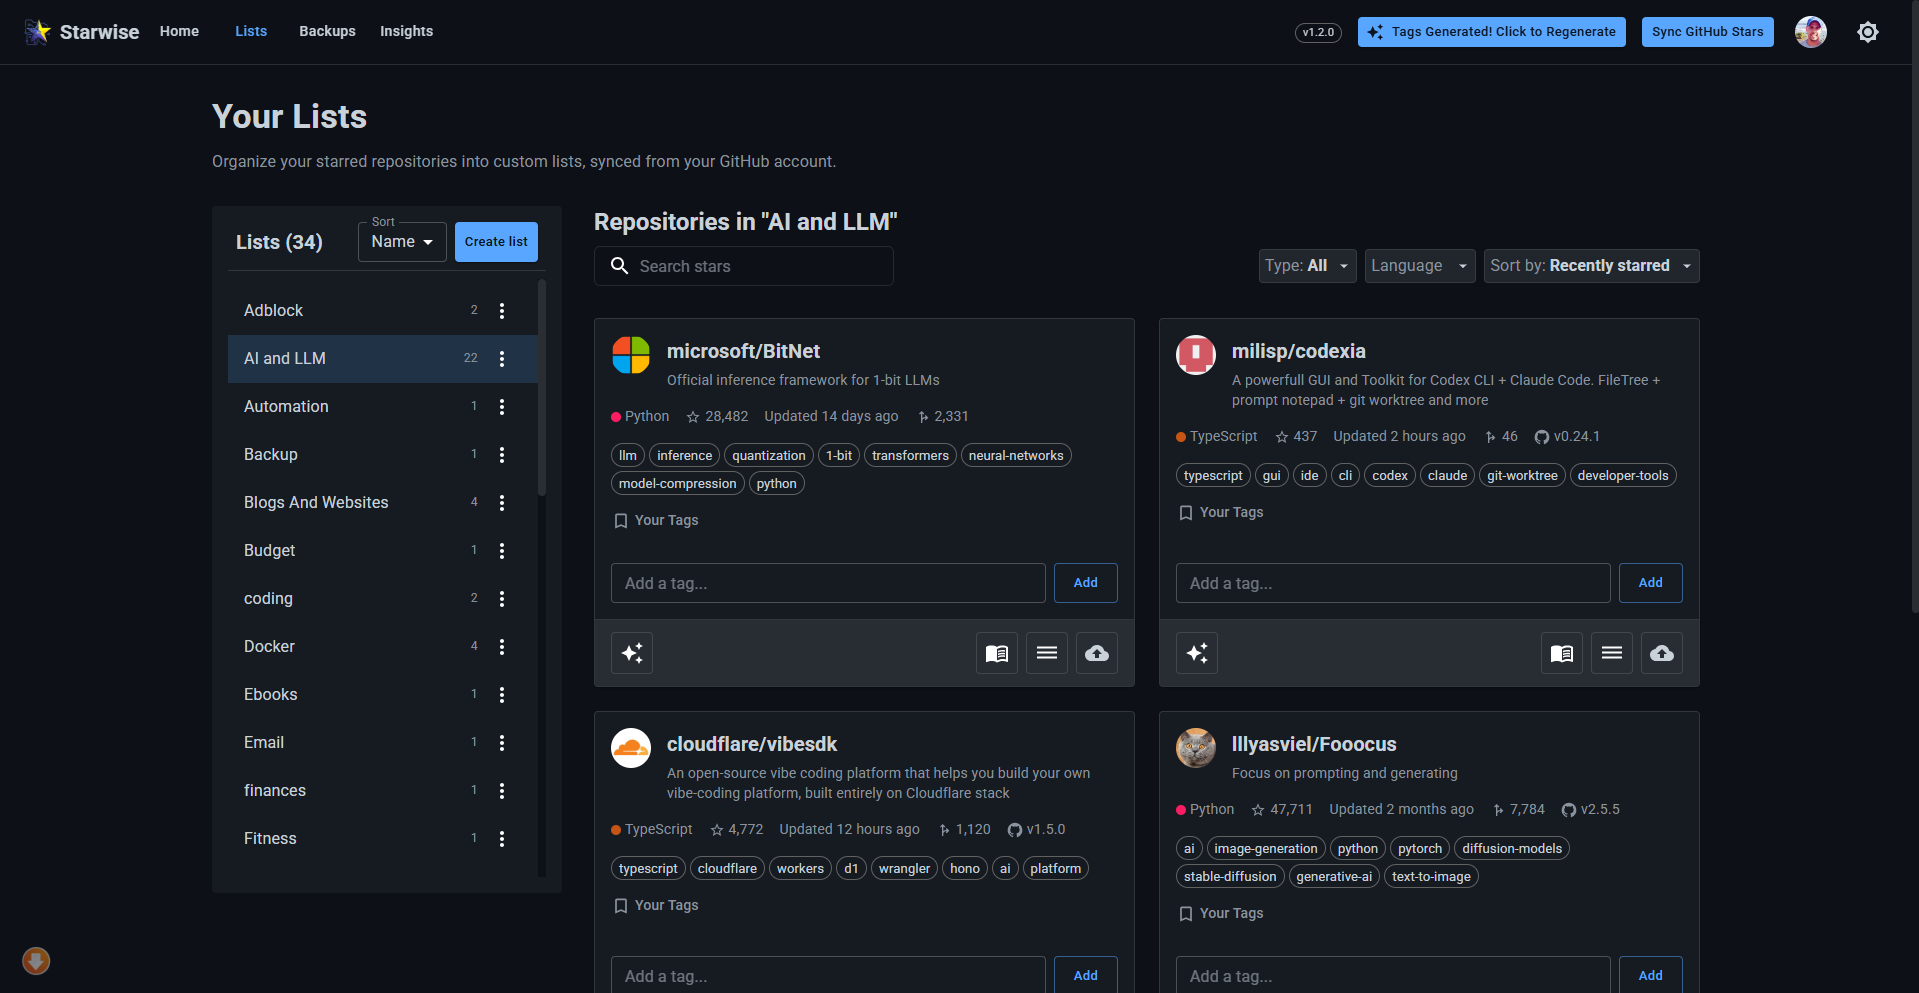
lists
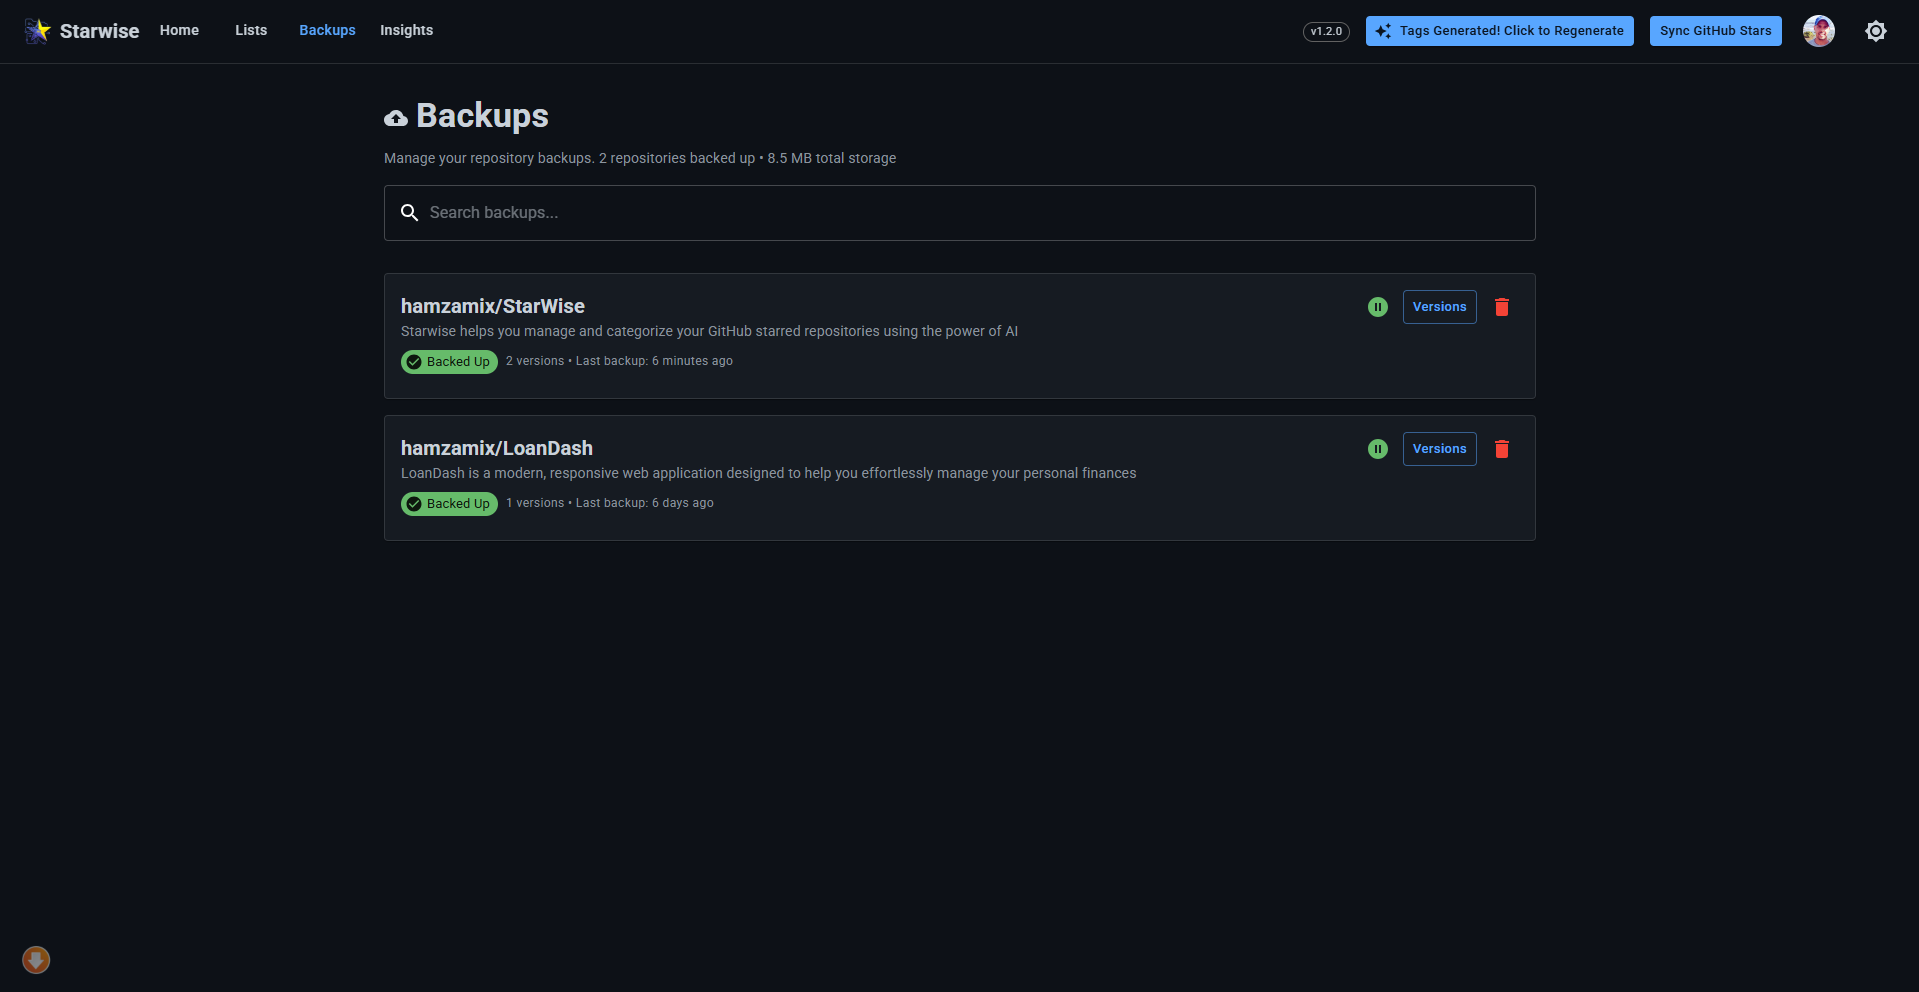
Backups
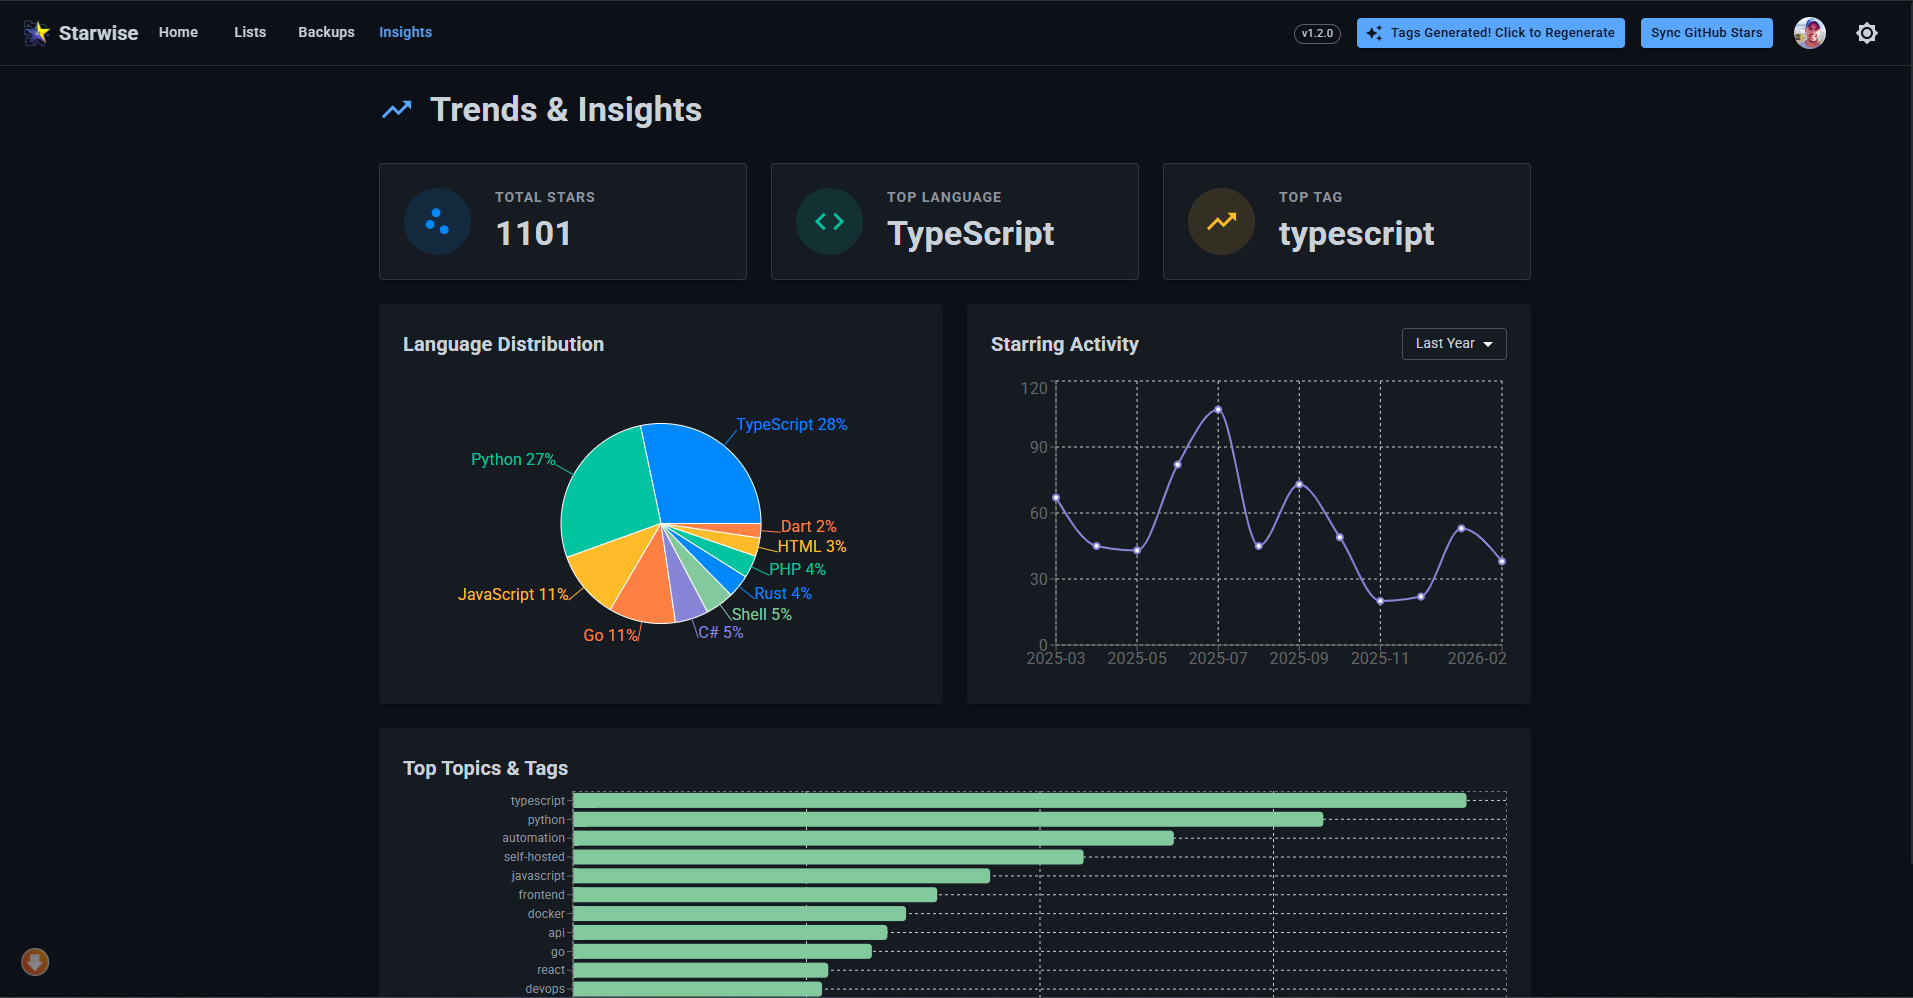
Insights
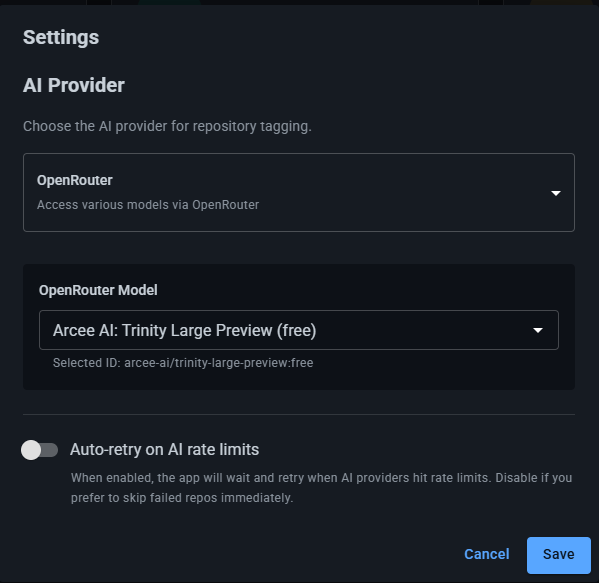
Settings
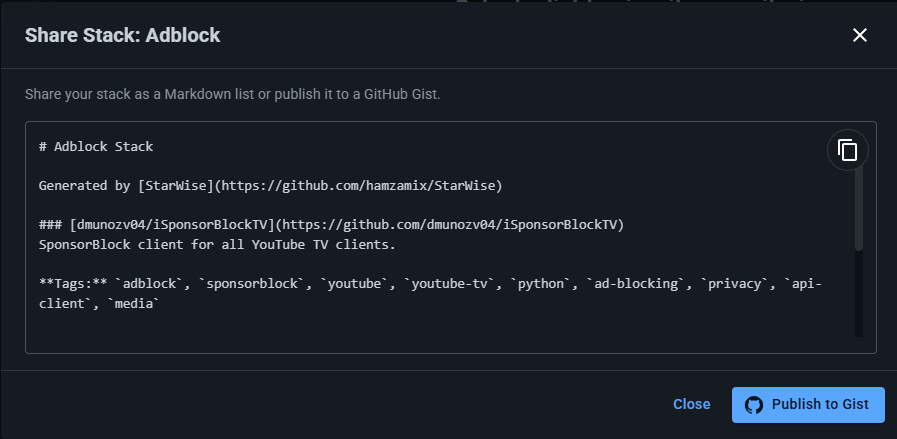
Share Stack
-
Clone the repository:
git clone https://github.com/yourusername/starwise.git cd starwise -
Set up environment variables:
cp backend/.env.example backend/.env # Edit backend/.env with your API keys (see setup guide below) -
Run with Docker:
docker-compose up --build
-
Open your browser: Navigate to http://localhost:4000
-
Install dependencies:
npm install
cd backend && npm install && cd ..
-
Set up environment variables:
cp backend/.env.example backend/.env # Edit backend/.env with your API keys -
Start the backend:
cd backend && npm start
-
Start the frontend (new terminal):
npm run dev
-
Open your browser: Navigate to http://localhost:5173
- Node.js (v18 or later)
- npm or yarn
- Docker (optional, for Docker setup)
- GitHub account
- Google AI Studio API Key
Create a GitHub OAuth application to enable authentication:
- Go to GitHub Settings → Developer settings → OAuth Apps
- Click New OAuth App
- Fill in the details:
- Application name: StarWise (Development)
- Homepage URL:
http://localhost:5173 - Authorization callback URL:
http://localhost:4000/auth/github/callback
- Save your Client ID and Client Secret
- Create another OAuth App (or update the existing one):
- Application name: StarWise (Docker)
- Homepage URL:
http://localhost:4000⚠️ Important: Use port 4000 for Docker - Authorization callback URL:
http://localhost:4000/auth/github/callback
- Use the same Client ID and Client Secret in your
.envfile
💡 Port Explanation:
- Local Development: Frontend runs on port
5173, backend on port4000- Docker Deployment: Both frontend and backend run on port
4000in a single container- OAuth Setup: Always use port
4000for the callback URL, but Homepage URL differs based on deployment method
- Visit Google AI Studio
- Create a new API key
- Save your API key securely
Create backend/.env with your credentials:
# GitHub OAuth (from step 1)
GITHUB_CLIENT_ID=your_github_client_id
GITHUB_CLIENT_SECRET=your_github_client_secret
GITHUB_CALLBACK_URL=http://localhost:4000/auth/github/callback

# Google Gemini AI (from step 2)
API_KEY=your_google_ai_api_key

# Security
SESSION_SECRET=generate_a_long_random_string_here

# Server Configuration
PORT=4000

# AI Provider API Keys
OPENROUTER_API_KEY=
OPENAI_API_KEY=
ANTHROPIC_API_KEY=
DEFAULT_AI_PROVIDER=StarWise includes full Docker support for easy deployment with secure environment variable handling:
| Deployment Method | Frontend Port | Backend Port | Access URL | GitHub OAuth Homepage URL |
|---|---|---|---|---|
| Local Development | 5173 |
4000 |
http://localhost:5173 |
http://localhost:5173 |
| Docker | 4000 |
4000 |
http://localhost:4000 |
http://localhost:4000 |
For security, API keys are never hardcoded in the Docker Compose files. Instead, they're loaded from your local .env file or system environment variables.
-
Ensure your
.envfile exists:cp backend/.env.example backend/.env # Edit backend/.env with your actual API keys -
Update GitHub OAuth App:
- Set Homepage URL to
http://localhost:4000 - Keep Callback URL as
http://localhost:4000/auth/github/callback
- Set Homepage URL to
-
Run with Docker Compose:
docker-compose up --build
This uses
env_file: backend/.envto securely load your environment variables. -
Access the application: Navigate to http://localhost:4000
For production, use environment variables from your deployment platform:
# Set environment variables in your deployment platform (Heroku, DigitalOcean, etc.)
export GITHUB_CLIENT_ID="your_actual_client_id"
export GITHUB_CLIENT_SECRET="your_actual_secret"
export API_KEY="your_actual_api_key"
export SESSION_SECRET="your_secure_session_secret"

# AI Provider API Keys
OPENROUTER_API_KEY=
OPENAI_API_KEY=
ANTHROPIC_API_KEY=
DEFAULT_AI_PROVIDER=

# Then deploy with production compose file
docker-compose -f docker-compose.prod.yml up --builddocker-compose.yml- Development setup, loads frombackend/.envfiledocker-compose.prod.yml- Production setup, uses system environment variablesdockerfile- Multi-stage build with verification steps
- Development:
backend/.envfile → Docker container - Production: System environment variables → Docker container
- Fallbacks: Default values for non-sensitive settings (like PORT=4000)
- Frontend: React 18 + TypeScript + Vite + Material-UI
- Backend: Node.js + Express.js + Passport (GitHub OAuth)
- AI: Google Gemini API
- Deployment: Docker + Docker Compose
- Styling: Material-UI with dark/light theme support
We welcome contributions! StarWise is built with ❤️ for the developer community.
- Fork the repository
- Create a feature branch:
git checkout -b feature/amazing-feature - Make your changes
- Test thoroughly
- Commit:
git commit -m 'Add amazing feature' - Push:
git push origin feature/amazing-feature - Open a Pull Request
- 🎨 UI/UX improvements
- 🔧 Additional AI providers (OpenAI, Claude, etc.)
- 📊 Analytics and insights features
- 🔍 Enhanced search and filtering
- 🌐 Internationalization
- 📱 Mobile app development
- 🧪 Testing improvements
This project is licensed under the MIT License - see the LICENSE file for details.
If StarWise helps you organize your GitHub stars, consider:
- ⭐ Starring this repository
- 🐛 Reporting bugs via Issues
- 💡 Suggesting features via Discussions
- 🔗 Sharing with fellow developers
- [✅] Export/Import functionality
- [✅] Backup repositories feature
- [✅] Sync GitHub Lists - Import and sync GitHub's native starred repository lists
- [✅] Collaboration features (shared lists)
- [✅] Browser extension
- [✅] Advanced analytics
- Mobile app
- [✅] Additional AI providers
- Team/Organization support
Made with ❤️ for the GitHub community